When you finish, you'll have an oversized upholstered panel behind your bed that runs wider than the mattress. It's the piece this fall's coverage says has taken over from the painted accent wall, and you can take it down when the lease ends. Homedit puts it bluntly: "The 'Power Headboard' has officially replaced the feature wall." Homes & Gardens names oversized, wall-spanning headboards as the biggest headboard trend of 2026.

Before you start, know that "wall-mounted" does not mean "no holes." Check what goes into the wall before you buy or build anything.

What makes the expensive one work

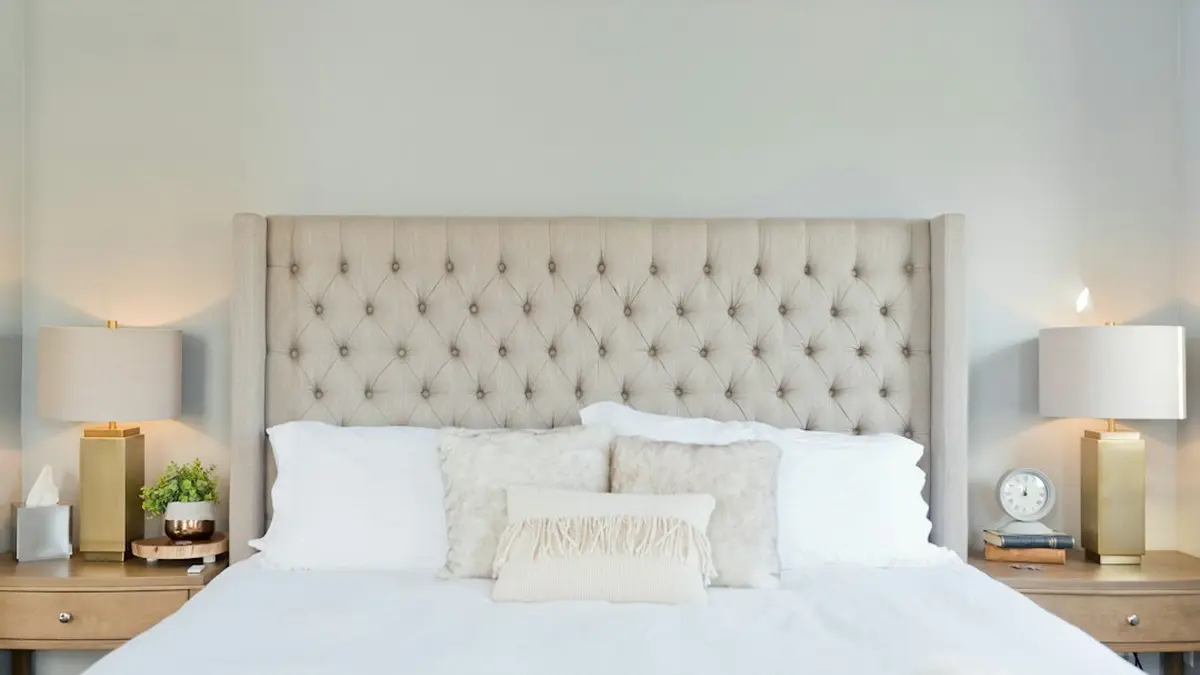
The designer versions all do three things. First, they run past the mattress on both sides, which is why they read as architecture and not furniture. Second, many use channel tufting, and Homes & Gardens notes that vertical stitching adds visual height. Third, they're covered in a saturated fabric, and that fabric is mostly velvet. The same piece reports velvet taking market share from bouclé heading into 2026. Homedit's twelve picks run through dusty rose, teal, navy and saturated orange velvet.

Of the three, scale matters most. A deep green velvet panel that stops at the mattress edge is just a headboard. If you stretch it wider, it becomes the thing in the room people notice.
Buy it or build it

Route Price as reported How it attaches The catch
Statement upholstered bed frame $99.99 to $1,089 across products tracked by Sourcy.ai To the bed You're buying a whole bed
Studio McGee x Target ruffled wall-mounted headboard $250 to $300 by size and fabric French cleat, centered on the back Twin, Full and Queen only, no King
West Elm vegan leather wall-mounted About $879 Heavy-duty French cleat Hardware goes into the wall
Hearth wall-mounted upholstered (Queen) $64.99 Wall-mounted Confirm the hardware before buying
DIY plywood panel Materials not priced in our sources; a similar IKEA foam-and-batting hack came to $35 D-rings Your time

Shea McGee's Target piece is the best-documented shortcut, and if you like its skirted, scalloped look and sleep on a Queen or smaller, it's a fair buy. But it's sized to the bed, not the wall. If you want the oversized width the trend is actually about, you'll have to build it, and that's the route below.

What you need

  • Low-tack painter's tape and a measuring tape

    For marking the outline before you commit to anything.

  • A plywood sheet cut to your outline

    Wider than the mattress on both sides.

  • Foam to cover the board
  • Batting to go over the foam
  • Fabric, with about 3 inches extra on every side

    That margin wraps around to the back for stapling. Velvet if you want the 2026 version.

  • A staple gun and staples
  • D-rings and wall hooks rated for the panel's weight

The steps, in order

  1. Tape the outline on the wall

    Mark the full width and height with painter's tape. House Digest recommends a horizontal, wall-to-wall shape for standard-height rooms and saves floor-to-ceiling for high ceilings. Worked if: from the doorway, the rectangle looks like it belongs to the wall and not the bed.

  2. Cut the plywood to the taped size

    Measure the tape, then cut. Worked if: the board covers the outline exactly when you hold it up.

  3. Lay the foam on the board

    Cover the whole front face. Worked if: no bare wood shows at the edges.

  4. Lay batting over the foam

    This softens the foam's edges so the fabric doesn't show seams. Worked if: the edges feel rounded under your hand.

  5. Cut the fabric

    Add about 3 inches on every side beyond the board. Worked if: the fabric wraps to the back with room to staple.

  6. Staple the fabric to the back

    Pull it taut as you go, working around the board. Worked if: the front is smooth, with no ripples, when you stand the panel up.

  7. Fix the D-rings to the back

    Set them level and at the same height. Worked if: a string between them sits straight.

  8. Hang it

    Put up the wall hooks, then lift the panel onto them, centered behind the bed. Worked if: it sits level and the bottom edge disappears behind the mattress.

When it goes wrong

Not necessarily, but take the strictest advice seriously. RavensMove argues against wall-mounting in a rental at all and treats a headboard fixed to the bed frame as the safest option. That's a fair point, and if your landlord bans holes, it's the right call. One condition from the same guide: "Do not drill new holes into a frame unless the manufacturer permits it." If you go with adhesive instead, get your landlord's permission and test it in a hidden spot first.

Listing language happened. Apartment Therapy warns that not every wall-mounted listing is damage-free and tells readers to confirm whether it uses a cleat, adhesive strips or simply leans. A French cleat, like the ones on the Target and West Elm pieces, gets screwed into the wall.

It's almost always the width. If the panel ends near the mattress edges, it reads as standard furniture. Go back to the tape and make it wider. Making it taller only helps if your ceiling is high.

Once it's on the wall

The test the Los Angeles designer Francesca Grace gives in Livingetc is a good one: a headboard "should be comfortable enough to lean against with your morning coffee." Yours should pass it. If you're still choosing fabric, pulling the color from Celery or Grounded will tie the panel to the rest of the room. And if you like the soft, curved shapes driving this trend, the living room has its own version.

Want the same soft shapes in the living room?

The curved sofa guide covers the shape, scale and finish to look for in an affordable version.

Read the curved sofa guide