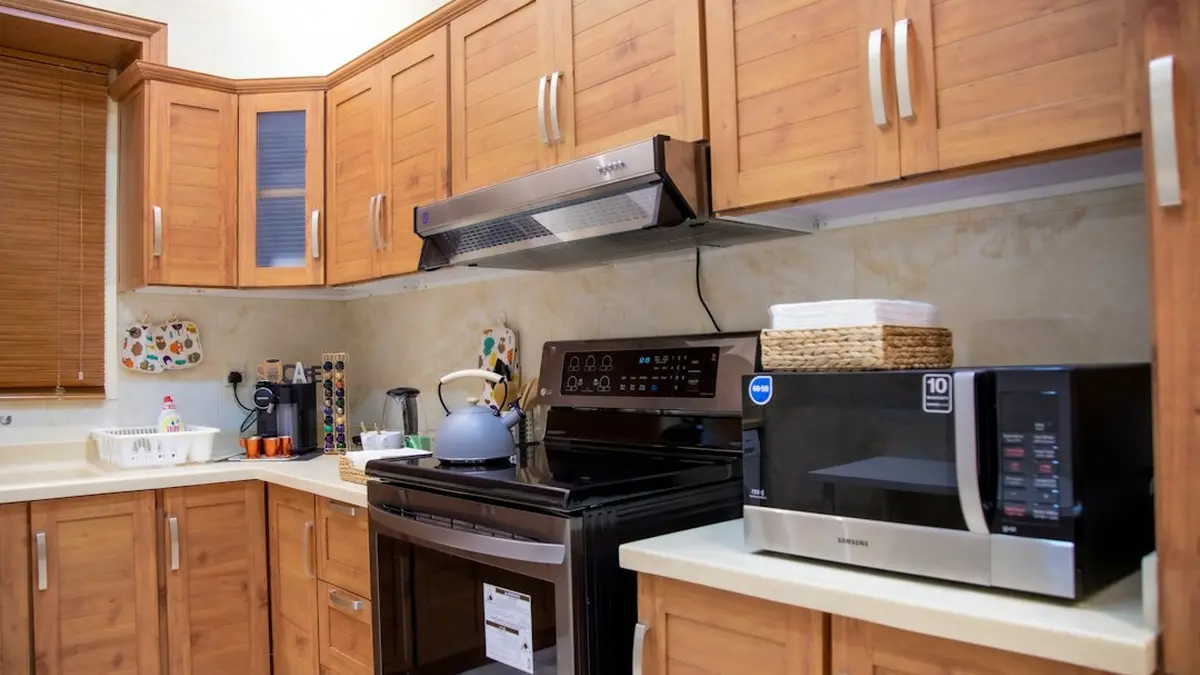
By the end of a weekend you can have lower cabinets that read as mid-tone white oak, warm hardware, and a shelf that looks styled on purpose, and you can undo every part of it before you hand back the keys. Wood has just passed white in the 2026 Houzz Kitchen Trends Study, 29% to 28%, the first time in roughly a decade. Before you start, know that the main risk here is your security deposit, so test the adhesive first.

What to aim for

Choose a medium tone. Among the Houzz homeowners who picked wood, medium-toned finishes led at 15%, light came next at 11%, and dark trailed at 3%. The NKBA 2026 report found 51% of the 634 professionals surveyed named white oak as their top species. On a roll of contact paper, that translates to a mid oak with a visible grain and a matte or low-sheen surface. Gloss is the giveaway that a wood finish is printed, and stark cool white is the look this trend is replacing.

Wrap only the lower cabinets. In two-tone kitchens, white leads on the uppers at 40% and wood leads on the lowers at 37%, according to Kitchen Cabinet Kings. Your existing white uppers can stay as they are, so you buy less paper, have fewer seams to hide, and the result looks intentional. If you want a color to go with the wood, NKBA found 86% of pros cite green as a popular accent, and an earthy olive like Grounded sits well beside oak.
What you need

  • Matte wood-grain contact paper

    $15 to $40 per roll, under $50 for most kitchens (PennyWiseHome, 2026). The top sellers on Amazon come from brands such as COSNIGHT, Heroad, CHIHUT, CCOCC and VEELIKE, in light oak, walnut and cherry.

  • Brass knobs or pulls that fit your existing holes

    $30 to $100 for a full kitchen

  • Squeegee, X-Acto knife, tape measure, screwdriver
  • Zip bags and a marker
  • Hairdryer and rubbing alcohol

    For repositioning now and for removal later

The steps

  1. Photograph every cabinet

    Take dated photos of the cabinets as they are now. Hominspire also recommends getting your landlord's permission in writing. You're done when you have a photo of each door.

  2. Stick a test patch somewhere hidden

    Put a scrap on the inside of one door and leave it there for several days. Then peel it off at an angle. If the finish comes away clean, carry on.

  3. Take the lower doors off

    Lay the doors flat on a towel. Wrapping a door on its hinges is how you end up with crooked edges.

  4. Bag and label the old hardware

    Use one bag per door, labeled with its position, so you can put everything back exactly as it was before you move out.

  5. Clean each door

    Wash with mild soap and water, then let it dry completely. Skip the sanding some guides suggest, because it can't be undone in a rental.

  6. Cut the paper to size

    Measure each door and add a small margin. Run the grain vertically so it matches the way real cabinet doors are built.

  7. Apply the paper slowly with the squeegee

    Peel back a few inches of backing at a time and smooth from the center outward. The surface should be flat with no bubbles. Keep the paper clear of the hinge areas.

  8. Trim the edges with the X-Acto knife

    Cut flush to the door edge so no overhang catches on anything.

  9. Rehang the doors

    The grain should line up from one door to the next across the run.

  10. Fit the new hardware in the existing holes

    Matching the original screw-hole pattern means you never drill a new hole.

  11. Style one open shelf

    Put wood cutting boards and bowls there. Trade press reports open shelving shifting toward curated display rather than full exposure, so a few pieces look better than a full shelf. Warm 2700K to 3000K under-cabinet lights are a reversible extra.

If it went wrong

Stop there. [Tasting Table](https://www.tastingtable.com/2208275/better-way-to-update-your-cabinets-kitchen-peel-and-stick/) warns the glue "can pull the varnish off of wooden cabinets in sheets." Laminate holds up far better than real wood. If your doors are older or unsealed wood, keep the hardware swap and the styled shelf, and leave the doors unwrapped.

Contact paper doesn't last long in humid spots. Warm the edge with a hairdryer and press it back down. If it keeps lifting, leave the sink door in its original finish.

This happens on textured or recessed doors. Hominspire suggests covering only the flat recessed panel on those doors instead of wrapping the whole door.

Warm the paper with a hairdryer, peel it off slowly, then clean the leftover adhesive with rubbing alcohol or Goo Gone.

Where to go from here

You now have warm lower cabinets, the white uppers you already had, and a plan for undoing all of it. You've done no drilling and no paint, and there's nothing you need to explain to the landlord at move-out. If the hardware swap is the step you skipped, it's the one to do next.

Which brass finish suits wood-look cabinets?

A start-to-finish guide to choosing and fitting brass knobs and pulls, including unlacquered brass that develops a patina.

Read the brass hardware guide